Master Your Repairs: A Step-by-Step Guide to Choosing and Using Hands-Free Work Lights
Introduction
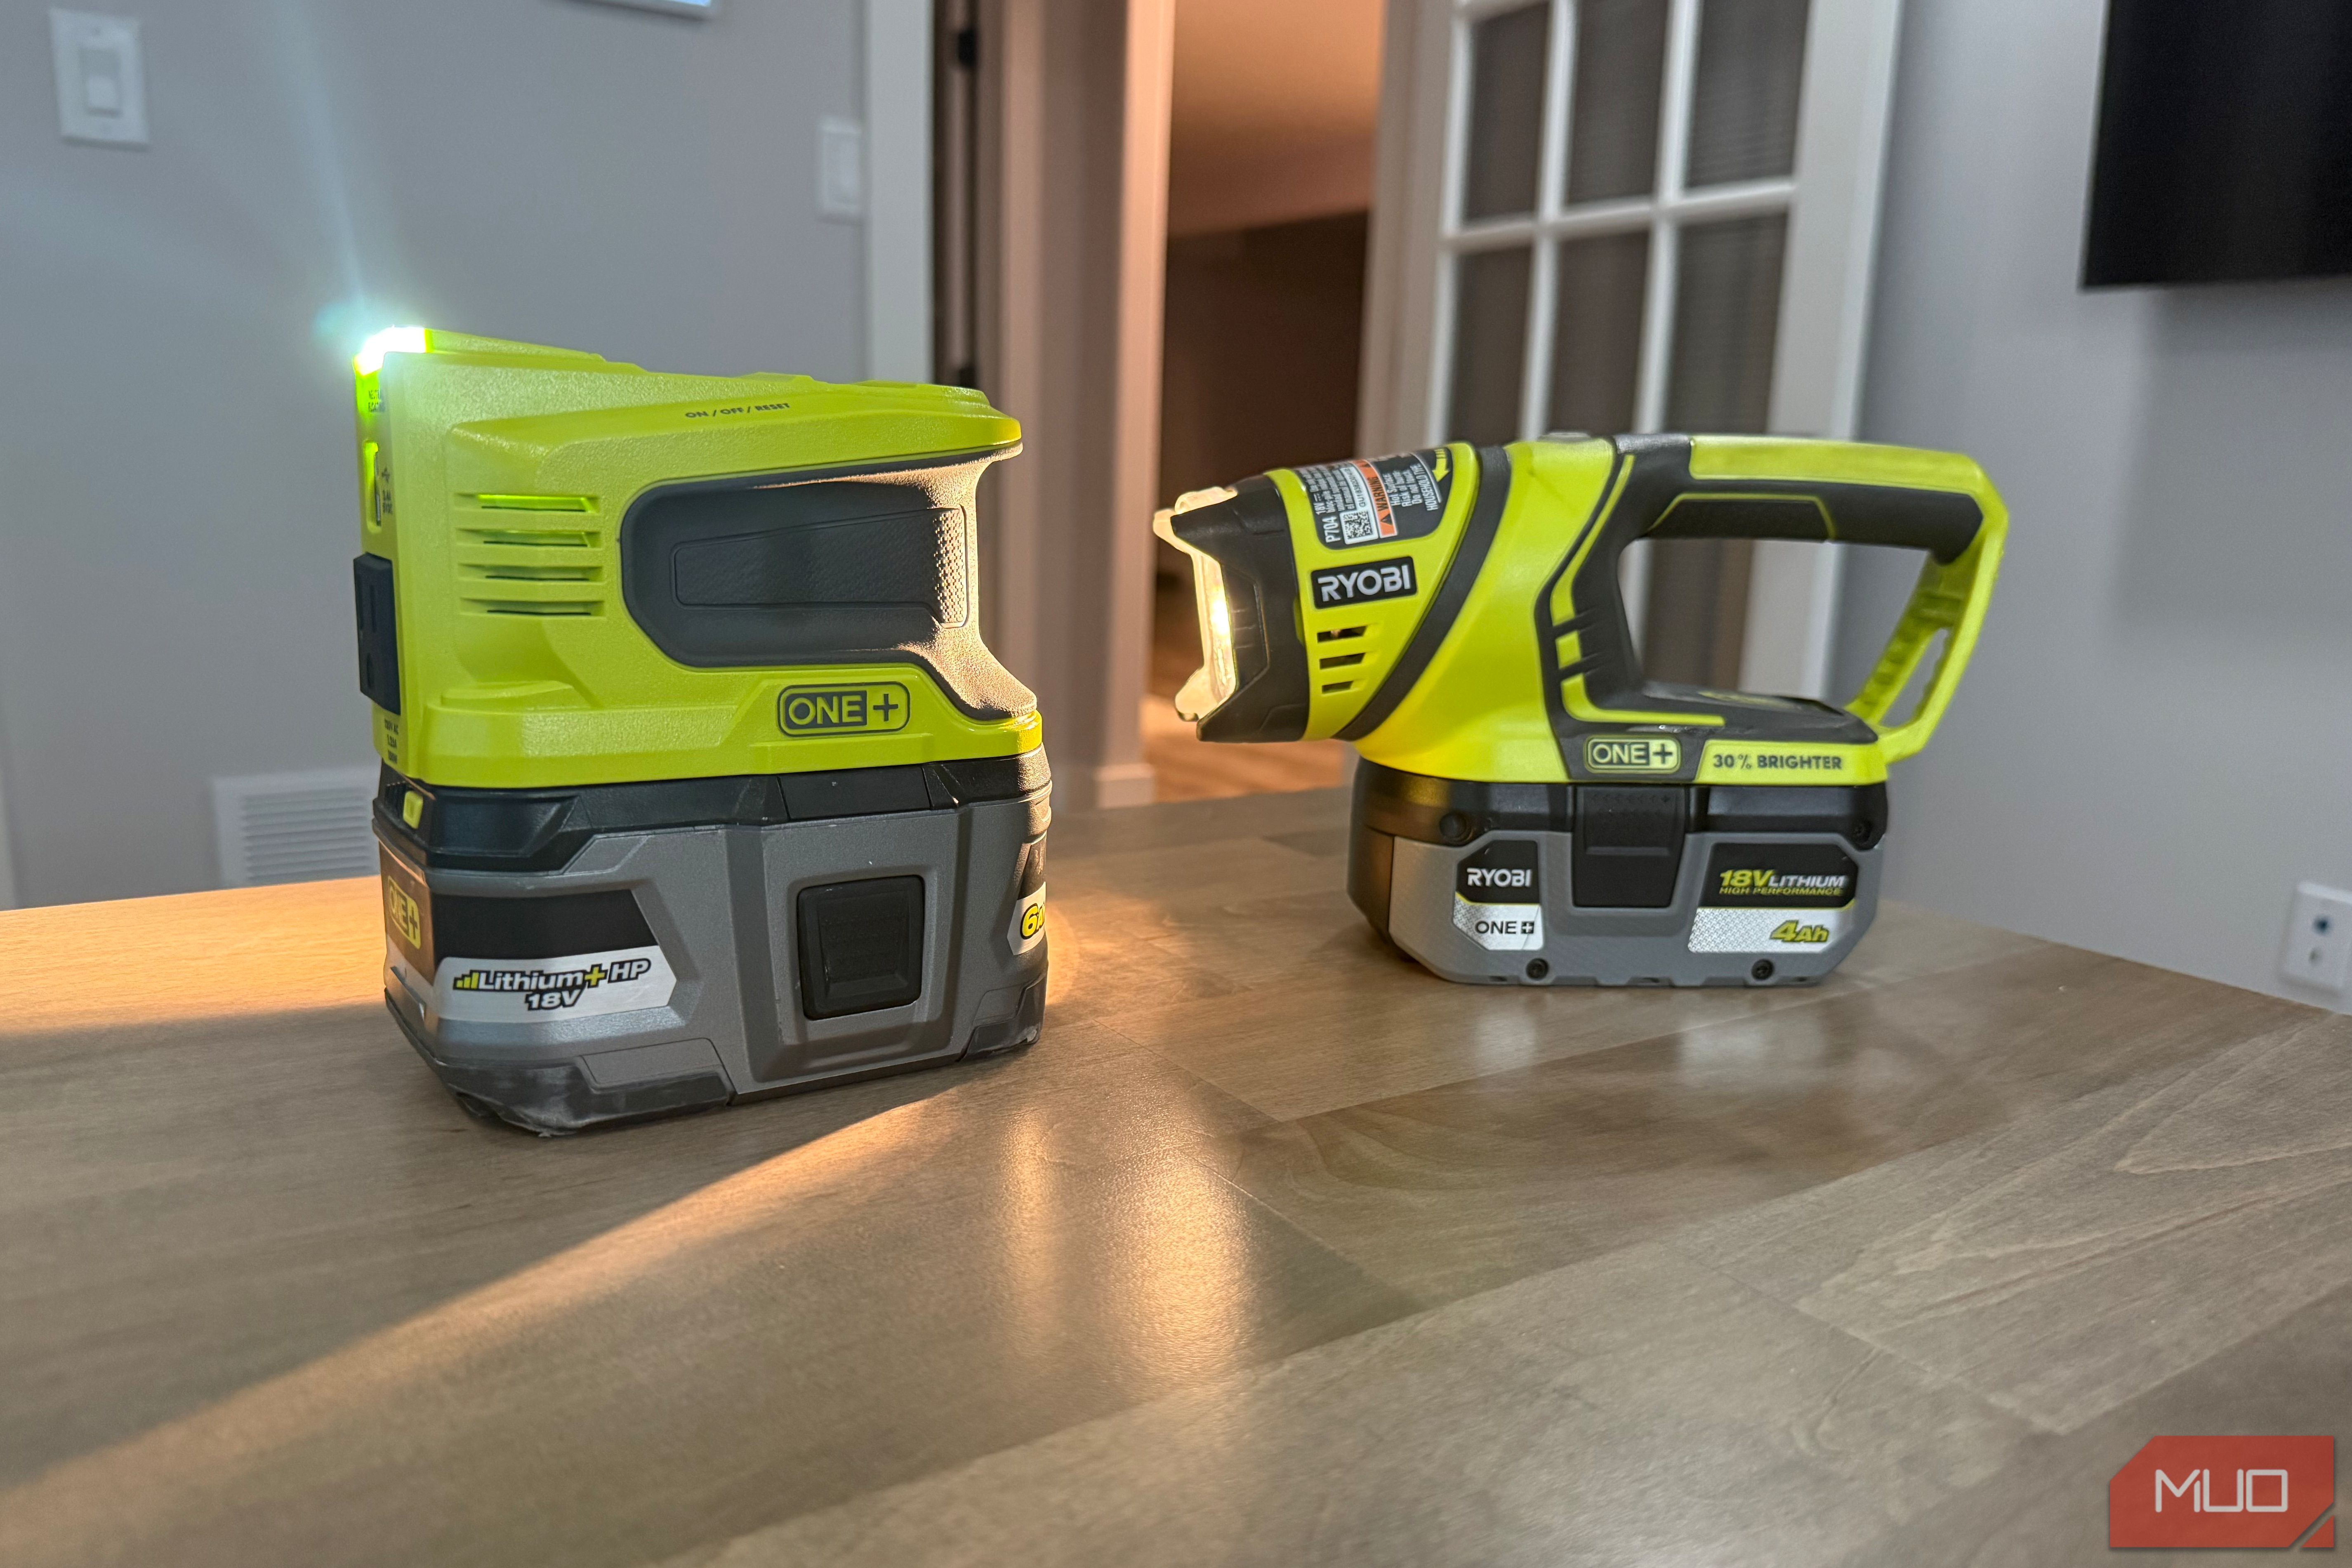
Few things are as frustrating as trying to fix a leaky pipe under the sink while holding a flashlight in your mouth. Your jaw aches, your hands are full, and you can't see properly. The solution is a cordless work light that stays put without your help. Whether it hangs, sticks to metal, or props itself up, these lights free your hands so you can focus on the repair. They run on the same batteries as your power tools, so you don't need a separate charger. I use the Ryobi model myself—it's part of the ONE+ system, and I grab it more often than most of my actual tools. The guide below covers five top brands: Ryobi, Milwaukee, DeWalt, Makita, and Ridgid. You'll learn how to choose the right one for your battery platform and use it effectively.
What You Need
- A cordless work light from one of these platforms: Ryobi ONE+, Milwaukee M18, DeWalt 20V MAX, Makita 18V LXT, or Ridgid 18V.
- Compatible rechargeable battery and charger (usually sold separately or as a kit).
- Optional: magnetic hooks, adhesive strips, or a clamp mount for tricky spots.
- A clean workspace and a headlamp as backup—just in case.
Step-by-Step Guide
Step 1: Assess Your Workspace
Before you buy or use a light, look at where you'll be working. Common awkward spots include under sinks, inside cabinets, behind appliances, inside crawl spaces, or in dark corners of a garage. Notice what surfaces are available: metal surfaces (like pipes or steel beams) allow for magnetic attachment; overhead rails or pipes allow for hanging; flat surfaces allow for propping. Also note the size of the space—tiny spaces may need a compact light, while larger areas need more brightness. This step primes you for choosing the right light type in the next step.
Step 2: Choose the Right Light Type
Not all hands-free lights work the same way. You have three main types:
- Hanging lights – come with a hook or loop to hang from pipes, shelf edges, or a retractable cord. Great for overhead or above-cabinet work.
- Magnetic lights – have strong magnets to stick to metal surfaces like a steel stud, HVAC duct, or tool box. Ideal for working on cars or metal fixtures.
- Self-standing lights – have a flat base or adjustable legs to sit on a floor, shelf, or counter. Perfect when there's nothing to hang or attach to.
Most modern work lights combine two or all three features. For example, the Ryobi ONE+ work light has a hanging hook and a magnetic base. The Milwaukee M18 Rover light stands on a pivoting head and also has a magnet. Pick a model that matches the most common scenario you face.
Step 3: Match to Your Tool Battery Platform
If you already own power tools from a brand like Ryobi, Milwaukee, DeWalt, Makita, or Ridgid, choose a work light that uses the same battery system. This saves you from buying extra chargers or batteries and keeps your inventory streamlined. For instance, I have a Ryobi ONE+ system, so I use the Ryobi work light. The four other brands covered here are Milwaukee, DeWalt, Makita, and Ridgid—one for each major platform. Check your existing battery voltage (usually 18V or 20V) and buy a light that matches. If you're starting from scratch, pick a platform based on overall tool availability and price point. Ryobi is generally affordable and versatile; Milwaukee and DeWalt offer more pro-level performance.
Step 4: Set Up the Light
Once you have your light charged and ready, place or mount it in your workspace. Follow these tips for each type:
- Hanging – Hook the light onto a pipe, edge of a shelf, or a temporarily installed hook. Make sure it's stable and won't swing into your way.
- Magnetic – Stick it to any clean metal surface. If the surface is vertical, ensure the magnet is strong enough to hold the light's weight.
- Self-standing – Set it on a flat, level surface. If the area is sloped, prop up one side with a small wedge or tape.
Angle the light head so it shines directly into the work area. Avoid pointing it at your eyes or at reflective surfaces that cause glare. For tight spots, consider using the light off-axis to reduce shadows. You can also combine two lights for shadow-free illumination.
Step 5: Use Safely and Effectively
While you work, keep the light stable and out of the way. If you need to move, reposition the light first. Remember that cordless lights have limited runtime—typically 1 to 5 hours depending on battery size and brightness setting. If the light dims, swap in a fresh battery. Don't let the light overheat; many models have thermal protection, but it's wise to turn it off if it feels hot. Also, use the light's low or medium setting if you don't need full brightness—it extends battery life. Finally, keep your light clean and free of debris after each use.
Conclusion & Tips
Hands-free work lights are a game-changer for awkward repairs. They save you from jaw pain and free your hands for the job. With the right light from a platform you already own, you'll wonder how you managed without it. Remember these tips:
- Always charge your batteries before starting a project. A dead battery halfway through is frustrating.
- Consider getting two lights for larger spaces—one for overall ambient light and one focused on your work.
- Store your light with the battery removed to prevent parasitic drain and prolong battery health.
- Use a headlamp as backup for very tight spots where even a compact work light won't fit.
- Check for new models periodically; manufacturers improve LED output, battery efficiency, and mounting options.
With this guide, you're ready to tackle any repair without the flashlight-in-mouth struggle. Happy fixing!