From Novelty to Necessity: How Practical 3D Printing Transformed My Hobby into a Money-Saver
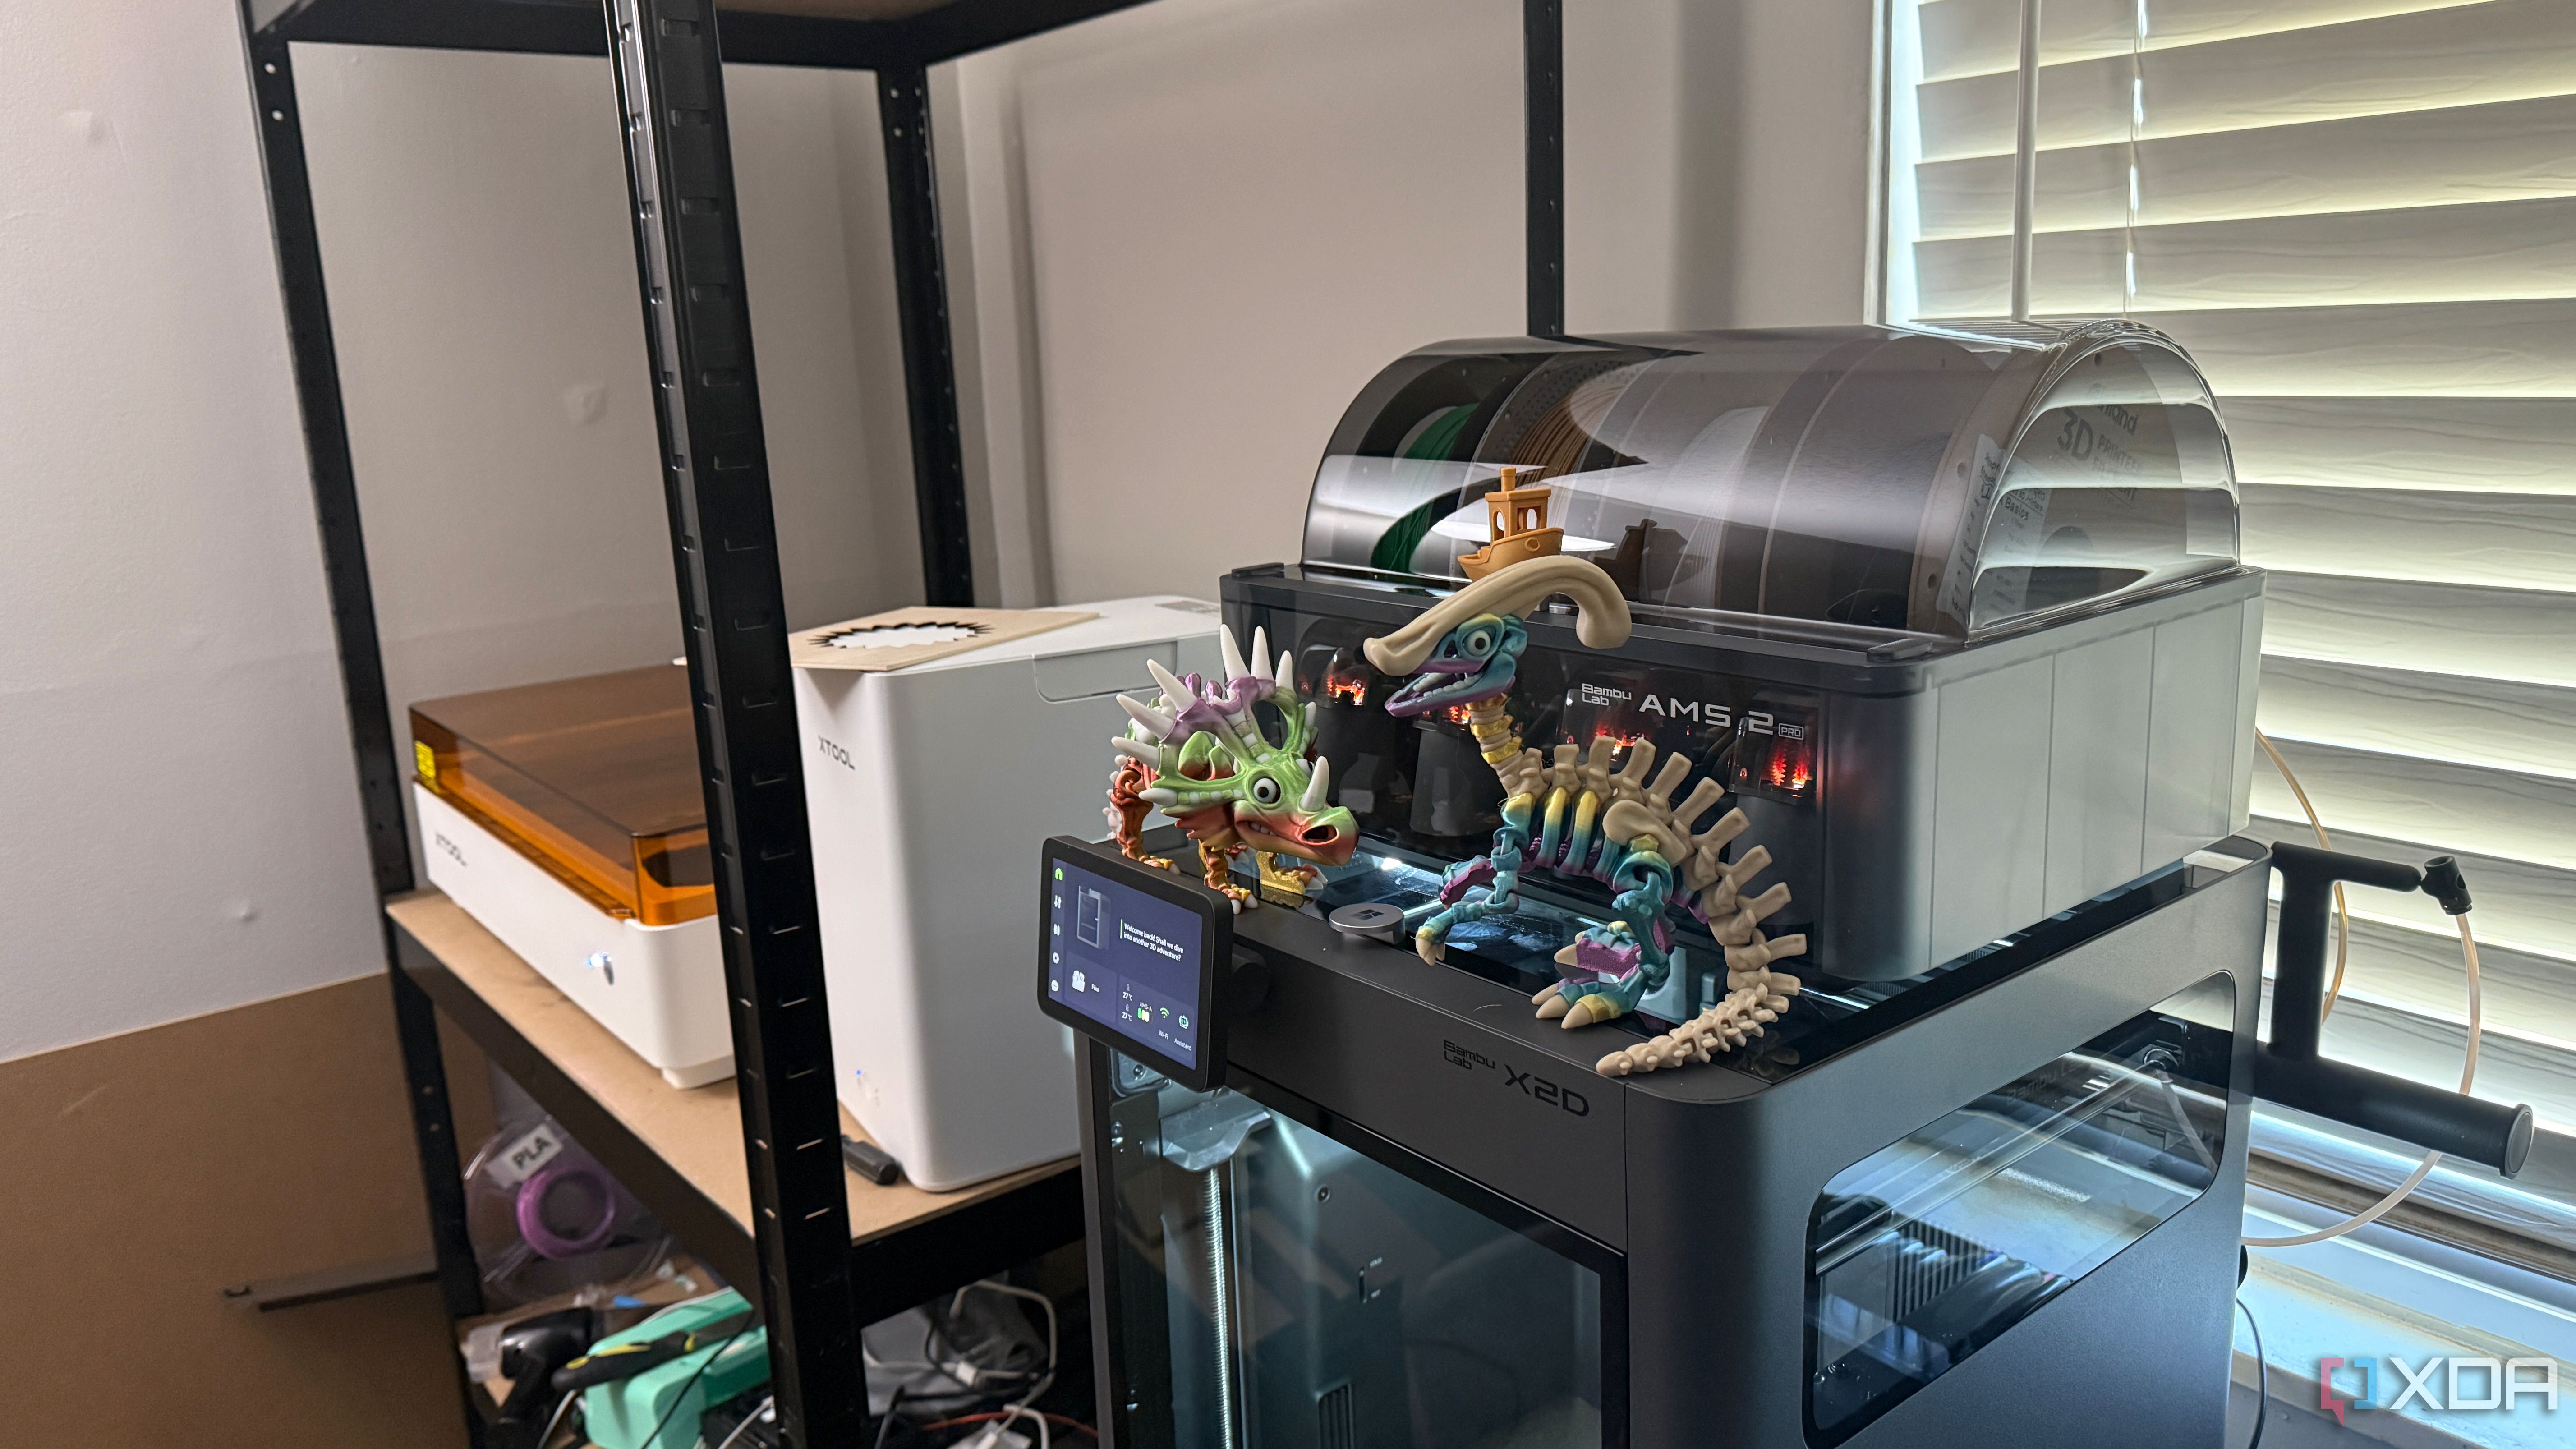
When I first got my 3D printer, I was like a kid in a candy store, printing anything that looked impressive—dragons, articulated sharks, tiny castles—you name it. For months, my machine churned out eye-catching trinkets that I’d admire for five minutes before they became dust collectors. But eventually, I realized I was spending real money on a decorative gadget. So I made a shift: I stopped chasing cool 3D prints and started printing boring, practical items. That’s when my printer finally started paying for itself. Here are the key lessons from that transformation.
Why did you stop printing cool 3D models like dragons and sharks?
At first, printing dragons and articulated sharks was thrilling—it proved what my printer could do and wowed friends. But within weeks, I noticed these cool prints had very short-lived satisfaction. They sat on a shelf collecting dust after a few minutes of admiration. Worse, I realized I’d spent hundreds of dollars on filaments and upgrades just to produce decorative clutter. The novelty wore off, and I felt like I owned an expensive toy rather than a useful tool. That’s when I questioned the real value of my printer. It was fun, but it wasn’t earning its keep. The turning point came when a practical need arose—a broken drawer handle—and I realized I could fix it for pennies instead of buying a new one. That simple moment made me re-evaluate my printing priorities completely.
What kind of “boring” prints started making your printer pay for itself?
The boring prints that changed everything were household repairs and custom organizers. I started with a broken clothes hanger clip—designed and printed a replacement in 20 minutes. Then I made cable clips to tame the jungle behind my TV, replacing ones that had snapped. Next came a small part for a vacuum cleaner that the manufacturer wanted $15 for; I printed it for less than a dollar. Other examples include custom drawer dividers, a phone stand that perfectly fits my desk, and a hinge for a cabinet door. These items aren’t exciting to show off, but they save me time and money every day. Instead of buying expensive replacement parts or adapting cheap solutions, I now design exactly what I need. Over six months, the savings from avoiding store-bought items have more than covered the cost of my printer and filament.
How did you shift from printing for fun to printing for utility?
The shift wasn’t overnight—it took a conscious decision to stop browsing Thingiverse for trending models and start solving everyday problems. I began by making a list of things around my home that were broken, inefficient, or missing. For example, my kitchen had a loose cabinet handle, and I’d been ignoring it. I designed a simple shim to tighten it. Next, I noticed my gaming chair had a missing caster; I printed a replacement that works perfectly. The key was to focus on function over form. I also started learning basic CAD in Tinkercad, which let me create custom solutions instead of relying on existing files. Each successful repair gave me more confidence. Pretty soon, I was seeing opportunities everywhere: a missing cap for a glue bottle, a broken shelf bracket, even a custom mount for my phone in the car. Utility printing turned my printer from a hobby into a household tool.
Can you give a specific example of a practical print that saved you money?
One of my best money-saving prints was a replacement part for my espresso machine. The drip tray’s plastic clip cracked, and the manufacturer wanted $22 plus shipping for a new tray. I measured the clip, designed a copy in Fusion 360 (took about an hour), and printed it in PETG for maybe 20 cents of filament. The clip fit perfectly and has lasted over a year. That single print saved me over $20. Another example: My vacuum cleaner lost a wheel axle. The brand’s spare part kit cost $30, but I printed a new axle in 15 minutes for next to nothing. These aren’t flashy prints—they’re boring, practical fixes. But when you add up the savings from a dozen similar projects, it easily exceeds the $300 I paid for my printer. The satisfaction of fixing things myself, rather than throwing them away, is an added bonus.
What challenges did you face when switching to purely functional 3D printing?
The biggest challenge was mental: I had to let go of the “wow factor.” It’s tempting to show off a articulated dragon, but nobody gets excited about a drawer stop or a cable clip. At first, I felt like my printer was becoming less impressive. There was also a learning curve in designing functional parts—measurements have to be precise, and materials matter (PLA might not hold up for high-stress items). I had several failed prints that were too weak or didn’t fit, which was frustrating. But I learned to use calipers, choose the right filament (PETG for durability), and adjust print settings for strength. Over time, the failures taught me more than any success. Another issue is that functional prints often require post-processing, like sanding or drilling holes. But once I saw the cost savings and how reliable the parts became, the challenges felt worthwhile. Now I actually enjoy designing boring solutions.
How did you track whether your printer was actually paying for itself?
I started a simple spreadsheet to log every functional print: date, what I printed, estimated cost of buying a comparable item, and actual filament cost. For example, a pack of 10 cable clips costs $8 at a store; I printed 10 for $0.50. A drawer pull would be $4; I printed one for $0.10. I also included the time I spent designing, but I don’t factor in my own labor since it’s a hobby. Over the first three months, the spreadsheet showed I had saved about $180 in avoided purchases. By six months, that number passed $320—more than my printer’s cost. However, I also accounted for filament and failed prints (about $40 wasted). The net was still positive. The key was being honest: I didn’t count the “value” of decorative prints. Only prints that directly replaced a purchased item or prevented a repair bill were counted. That spreadsheet became my motivation to keep printing boring things.
What advice would you give to someone who wants to make their 3D printer more practical?
Start by looking at your home through a problem-solving lens. Walk around and note anything broken, missing, or inefficient—loose drawers, broken hooks, missing caps, cable tangles. For each, ask: Can I fix or replace this with a 3D print? Keep a notebook or digital list. Next, learn basic CAD. You don’t need to be an engineer; even simple shapes like rectangles and cylinders can solve many problems. Use free tools like Tinkercad or Fusion 360’s hobbyist license. Then, don’t be afraid to fail. My first dozen functional prints didn’t work; I learned more from each failure. Also, choose the right material: PLA works for light-duty items, but PETG or ASA is better for heat or stress. Finally, embrace the boring. There is immense satisfaction in building something that works perfectly for its purpose, even if it’s just a shelf bracket. Your printer will earn its place not by showing off, but by making your everyday life easier and cheaper.